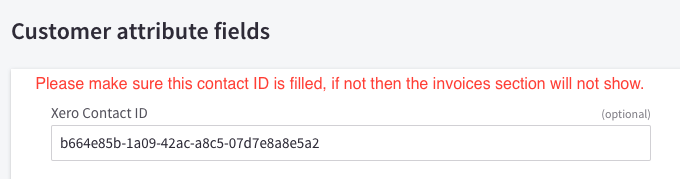
Once you have enabled the ‘Enable Customer Invoice View’ on (Invoice Module Setting), your customers will be able to see a new tab on their ‘My Account’ orders page, which is ‘Invoices’. If the tab is not showing on your customers, then please make sure that the customer has its ‘Xero Contact ID’ filled with the right XERO contact ID.

When this setting is enabled and a customer that doesn’t have its contact ID visits the orders page, our application will try to find an existing contact with the email address of the customer, and automatically adds that into the ‘Xero Contact ID’ field. This way, the customer’s next visit will have the ‘Orders’ and ‘Invoices’ tab if our application manages to find an existing contact.
Once a customer have access to ‘Invoices’ tab, they will be able to view, download and pay (only if ‘Enable Invoice Stripe Payment’ is enabled) the invoices that they have.
Customers can select multiple invoices to pay by ticking the checkbox on the left side of the table, and once customer have paid for the invoice, they will receive a payment acknowledgement email with the invoice number attached to it and then the invoices will be updated.
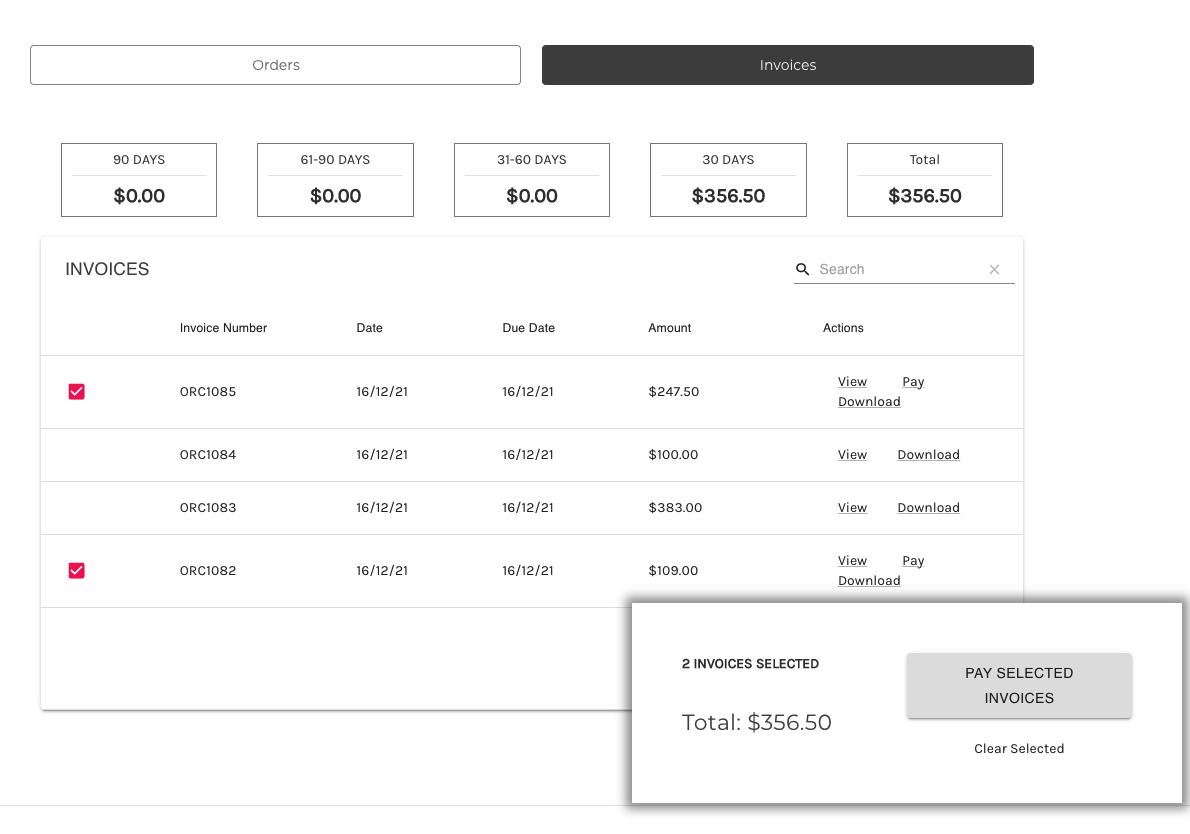
In the ‘Invoices’ tab, customer will be shown 90 Days, 61-90 Days, 31-60 Days, 30 Days and Total. The amount inside these represents the total amount that the customer needs to pay for their invoices, and the days represents how many days before the due date of the invoices. With this, 30 days represents all invoices that is outstanding and is due within 30 days, 31-60 days represents all invoices that is outstanding and is due within 31-60 days and so on, and the total represents the total amount outstanding for all invoices combined.